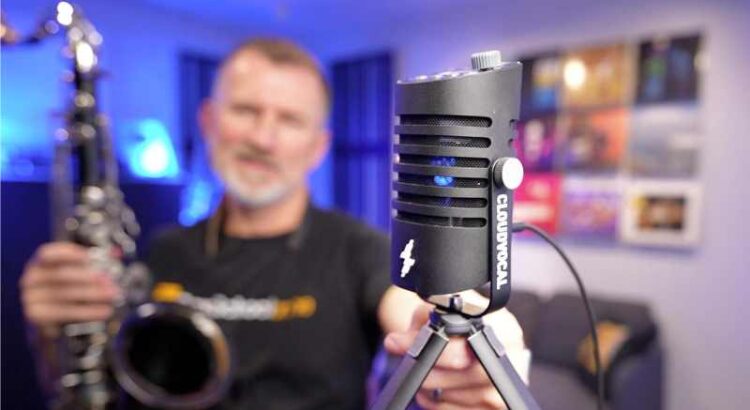
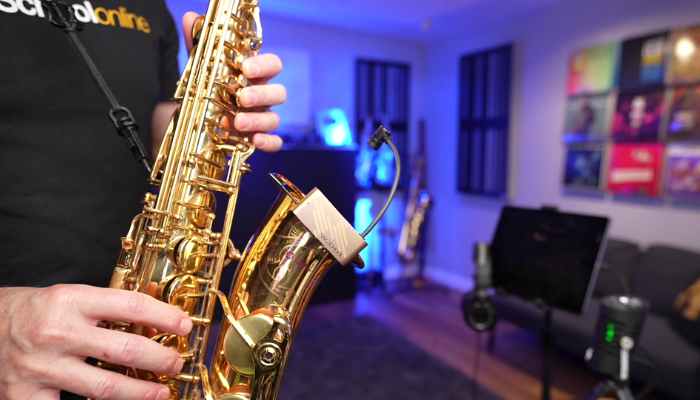
Today I’m testing the new CloudVocal FlashTrack microphone – a compact USB studio microphone.
The guys at Cloudvocal say if you’re looking for the easiest mic for sax players, this is a great option for making great-quality recordings on your saxophone.
I’m going to check it out and find out whether it is easy to use. And in fact, I want to put it to the test by making a recording using just the FlashTrack and my iPad.
A simple recording process
So we all know how important recording your saxophone is for making fast progress. That’s why it’s such an important part of what we do at Sax School with all of our thousands of students.
But it can be complicated to get the recording process right. Apart from the microphone, you need a stand and lead, you need an audio interface, you need a computer, and you need some recording software. Then you need to know how to put all that together to make it work right. It’s a nightmare.
And that’s why I was so excited to see this CloudVocal Flashtrack microphone, which connects to USB.
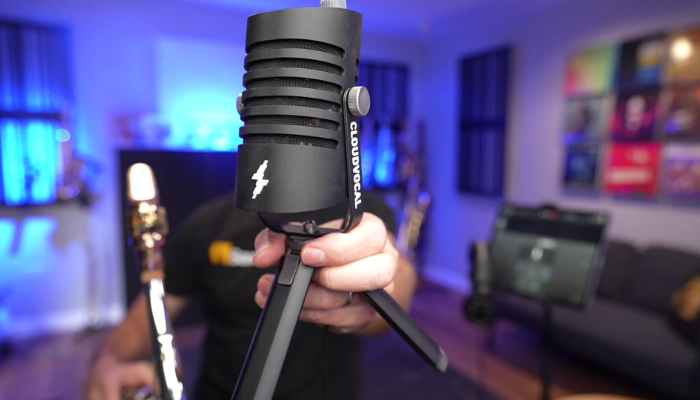
Now I know there are a bunch of other USB microphones on the market these days. But this has some cool features that I’ve not seen elsewhere. And I think it suits what I think most of us need to do as saxophone players. I’ll tell you about those features in a minute.
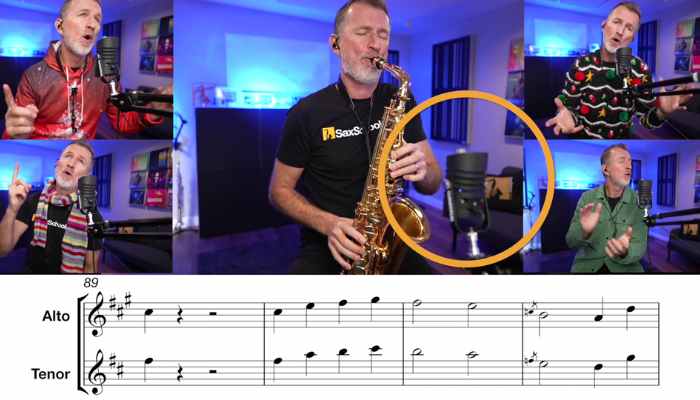
Oh, and by the way, if you’ve seen my Ten Easy Christmas Songs video recently, you might have noticed that I used the FlashTrack microphone to record all of the saxophone parts on that video.
The iSolo Wireless Sax Mic
Now CloudVocal are also the people behind the very clever little wireless microphone, the iSolo. I’ve made some reviews of this. Loads of our Sax School members use it. It’s a fantastic little compact microphone for saxophone players.
But let’s have a look at the FlashTrack today.
Setting up the FlashTrack
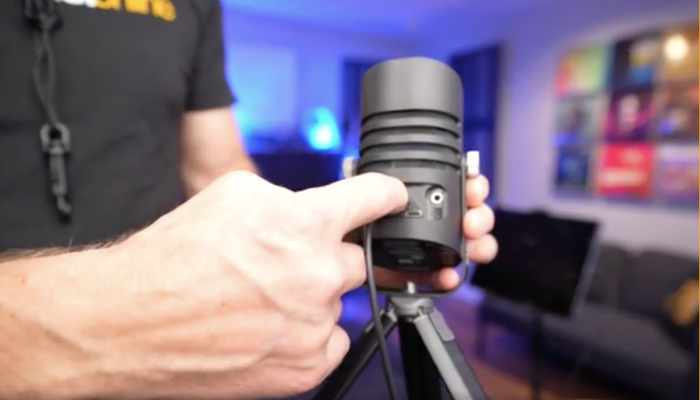
As I mentioned, the connection is simply a USB C. And that can go straight into an iPad. Now, I’m using GarageBand on my iPad, and there’s zero setup. You can see by the light on the microphone that it’s recognized by the iPad, and we’re ready to go.
Playing with backing tracks
So, as saxophone players, we love to record with backing tracks, right?
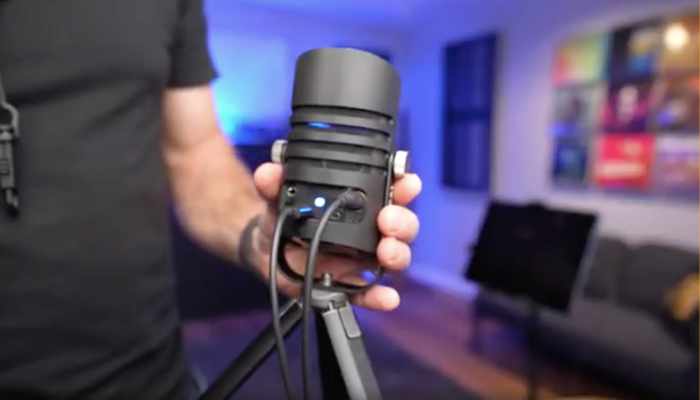
Well, the FlashTrack makes this process dead easy. That’s because you can stream your backing tracks directly over Bluetooth to the microphone.
I’m going to do this for this test recording today using my iPhone, and it’s really easy to set up. We press the button on the back of the FlashTrack to activate the Bluetooth. You simply pair your phone like you do with any other device, and then you are good to go.
So now I can play the backing tracks directly from my phone. And they’re going to come through the microphone and go into my iPad.
Now, of course, we need to be able to hear that backing track. So that’s also really easy because, on the back of the FlashTrack, you can connect your headphones directly in using a mini jack.
My test recording
So that’s a pretty easy setup. Now I’m going to have a go at recording and see what it sounds like.
So what do you think of the sound of the FlashTrack? To me, it sounds quite warm – lovely and smooth, and pretty clear.
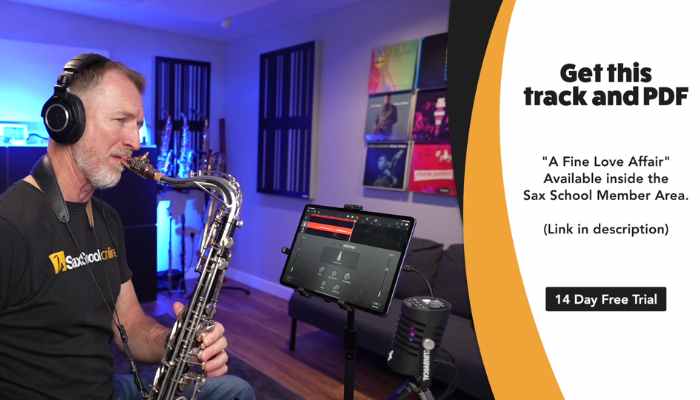
By the way, if you want to learn the tune I’m playing here in my test recording, you can get find in the Sax School Member Area. Members click here to find this lesson.
If you’re not a member yet, you can get access with a 14 day trial here.
I’ve just got this set on the standard settings. There’s no fancy stuff going on. But there are a bunch of great settings in here, which I want to show you about right now.
Buying the FlashTrack
The CloudVocal FlashTrack retails at $299 US. We do have a special discount link that you can use. It’ll get you about 6%, I think, off their full price. So use this link, cloudvocal.com/mcgillsax and you can get a discount on this microphone.
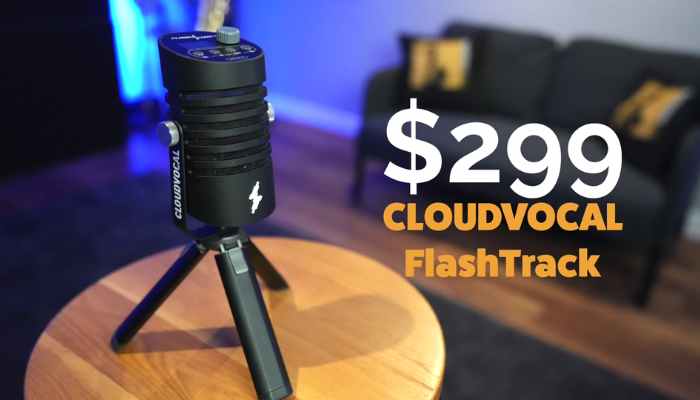
Now at $299 it’s not the cheapest USB microphone out there. But I think it’s got some cool features, including these next ones I’m going to show you, which I think you’ll like.
The Settings
So, we’ve got a bunch of settings on the top here were we can control things like the level of the headphones and the level of the track that’s coming in. We can also change the EQ settings on here. So let’s explore those first.
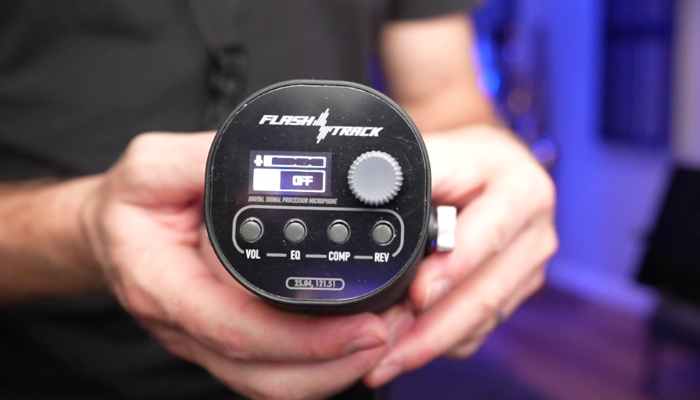
So we can see three different things on the display here. The top one is the microphone volume, the second one is the track volume, and the bottom one is the headphones volume.
And by pressing the volume button, we can cycle through and choose which one we want to adjust. And then just adjust it using the dial. It’s easy.
The EQ Settings
Okay, so then we’ve got some EQ settings and there’s a bunch of different options. Let’s have a listen to what they sound like.
I used the Flat setting when I recorded before. Listen to how it sounded.
Listen as I demo the other settings:
- Warm setting
- Clear setting
- Bright setting.
Now the last option here is My EQ. And if you press and hold the EQ button you can then set your settings for your EQ however you want your levels. Very cool.
The Compressor
Let’s just put this setting back down to Flat.
The next setting we can adjust is the compressor and here we’ve got a few options as well. Listen as I demo these:
- we’ve got Off.
- We’ve got Cast
- Punch
- Sing
- Dynamic.
And again, you can set your own settings.
Reverb
The last setting on the end here is our Reverb settings. If we go into reverb, we’ve got a bunch of different options too. Have a listen:
- Off
- Modern
- Concert
- Live
- Classic
- K-OK. (Wow, that’s a bit full-on).
And then in the last one here is you can set your reverb up. This is what I used for the recording before. It’s just a little bit of reverb, but it sounds quite nice.
Now there’s one more setting I want to show you, and that’s here on the front button. If you press the front button here, you can change the type of modelling of the microphone. Listen to the difference.
So it says IR Off,
- but we’ve got an RBN microphone
- Or we’ve got a Dynamic microphone.
The easiest mic for sax players?
What a powerful little microphone. There are some great features in this. And I think for a small setup as a saxophone player, this takes a lot of beating.
Now, don’t forget, this microphone could be used with any other computer as well. So I’m using it with an iPad here. But you could plug it directly into your phone, or you could connect it to a tablet, a laptop, or a full computer. It’s up to you.
The purpose of today, though, is to see if we could do a compact setup. And I think it’s worked quite well.
And I like the idea of having something as powerful as this that I can just use with my iPad. It’s perfect for if I’m on the road or if I just want to practice and work and record somewhere where I don’t have a lot of space.
So, if you’re looking for the easiest mic for sax players, then this is one to consider. Don’t forget to check out the discount link.
Try Sax School
And also if you want to come and see what we’re doing at Sax School, then don’t forget there’s a 14-day free trial which is running right now. The link for that is also down below. It’s a great way for you to come along and see how we’re helping thousands of students every day.
Whatever level you’re at, whatever style you’re interested in, there are lessons and courses inside Sax School to help you. There are over a thousand lessons in there. And thousands of students learn with us every single day and we have a huge team of teachers to help those students as well.
So you can try it out with a 14-day trial. Come along to some of the live streams, explore the lessons, even get some help from the teachers and see if it’s for you. I hope we’ll see you in there.